Showing posts with label photography q and a. Show all posts

February 7, 2012

lessons learned

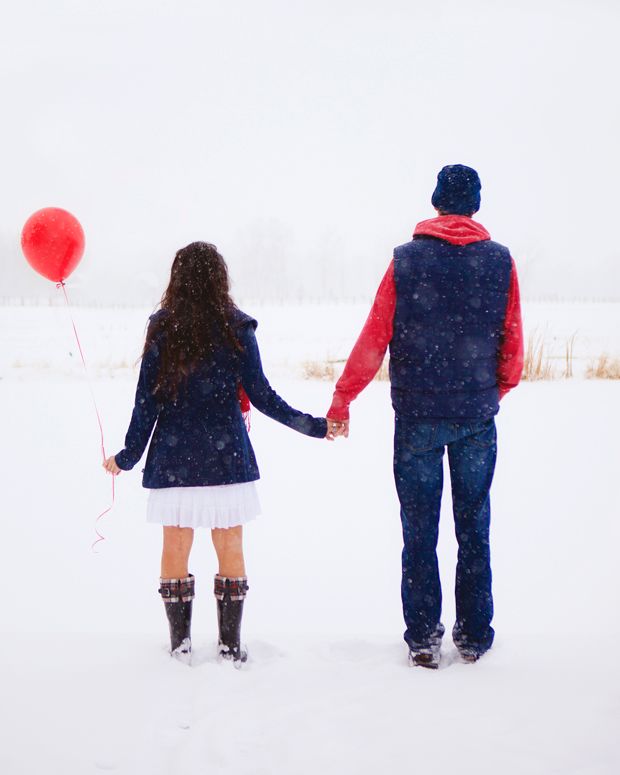
Remember how I just got through telling you that my youngest was a very annoying reluctant model?


We've talked about this before, but it never ceases to amaze me. Add a girl to the mix, and everything changes.

Aren't they adorable?

As I've been cleaning up my computer hard drive and transferring photos off my laptop, I've come across many pics from the beginning of my photography journey. It's made me think about some of the things I've learned about photographing people over the last couple years.

Some things sunk in pretty quick. Others, not so much.

I know that quite a few of you are new owners of your first big girl camera, so I thought I'd share a few of the lessons I've learned along the way. I'm going to assume that many of you are just like me.....easily befuddled by anything even remotely technical.

Learned Lesson Number One:

Probably the most important thing that I learned right off the bat is to manually use my camera's focal points to focus on my subject's eyes. Now, I always use manual selection to choose my focal point....I never let my camera choose it for me. Every one of the photographers that I admired back when I was desperate for tips stressed just how important it is to have the eyes tack sharp, and if your subject is positioned at an angle, focus on the eye closest to you.

So, that was my number one concern when I set out to take a portrait. I learned to change my focal points without looking at my camera, and soon, I was able to to do it without even thinking about it.

That brought me to my next, somewhat quickly learned lesson.

Learned Lesson Number Two:

If your shutter speed is too slow, that tack sharp eye won't be tack sharp.

I know. Duh.

I had and still have many, many duh moments.

When I was learning to use my camera in manual mode, there were so many things to think about and keep track of. My shutter speed was often too slow for hand holding my camera, and my pictures were blurry. Not blurry enough to see on the back of my camera, but when I'd transfer them to my computer, I was very bummed. Those eyes I'd so carefully focused on were not sharp at all, and I couldn't figure out why. I finally thought to check my file information and realized my slow shutter speed was the culprit.

So, these days, the first thing I do in any location is set my aperture and ISO to ensure that my shutter speed is fast enough to handle any slight movement made by either me or my subject.

For some of you, this is probably a given. For me, it was not. Nothing was a given when I was starting out. Except maybe taking off my lens cap. Of all the variables that come along with manual photography, I at least had that one down from the start.


For me, it's easy to focus more on what I don't know. I still have so much to learn. I can visit the blogs of amazing photographers and quickly feel that I will never get to where I want to be.

So, while it's always good to be looking for that next skill to conquer, that next amazing technique to master, don't forget to occasionally take a look back and see how far you've come.

Have a fabulous Tuesday!

April 7, 2011

hello cupcake!


Okay, are ya'll ready to talk photography?

I think this time, I'll just grab some of your questions and take it from there. I've edited them down a bit, but for the most part, I think the main questions survived the cut.

Here we go.

Q. The biggest question I have during these gloomy, sunless days of winter is how to take good photos inside when it's light, yet not bright.

A. Well, first off, let's say a word of thanks that I've put off answering these questions so long that it's actually spring now instead of winter. Other than that, I try to keep my subjects as close to a window as possible. The vast majority of my indoor photos are taken in my dining room where the light is usually plentiful. Using a wide aperture is also helpful for low light situations.

Q. Thoughts on composition?

A. Composition. I have to say, I struggle with composition. I like things symmetrical, so my natural tendency is to center my subject. Sometimes that works great, but more often than not, a photo will be more interesting if you shake things up a bit composition wise.
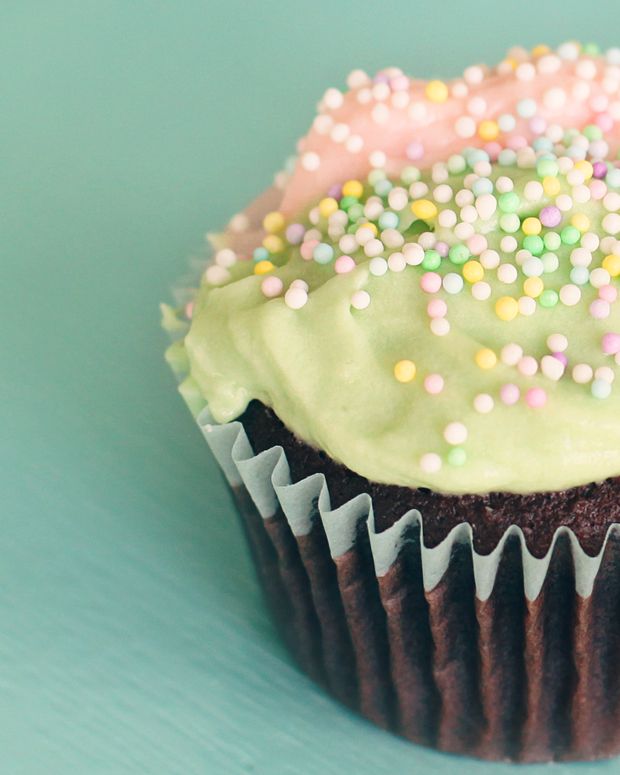
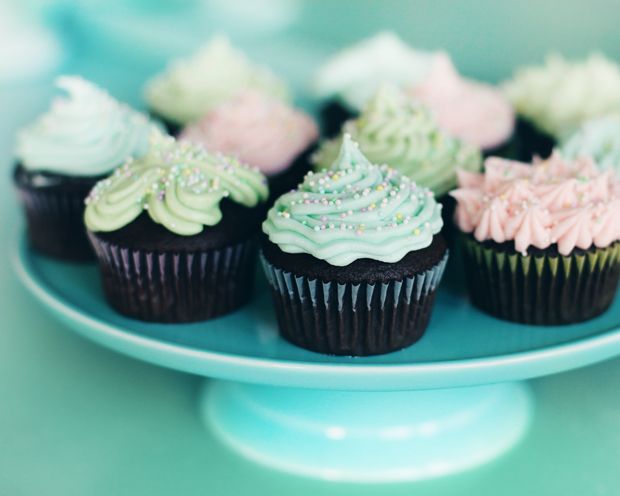
For the most part, the cupcake photos in this post were photographed in a very standard way, but I cropped some of them in photoshop in an effort to make them more visually appealing. Google "rule of thirds" and you'll get tons of information on photography composition.
When I find a photo I fall in love with, I take note of where the subject is placed, the other elements in the photo that I like, elements I don't like and then sometimes I'll set out to create a photo that is similar in look and feel.
Also, background is a huge factor. Huge. In fact, background is almost as important as the subject. For me anyway. If I have the most awesome subject, but no good background, I don't even want to take the picture.
If at all possible, I'll change my angle until I get the very best background for the shot.

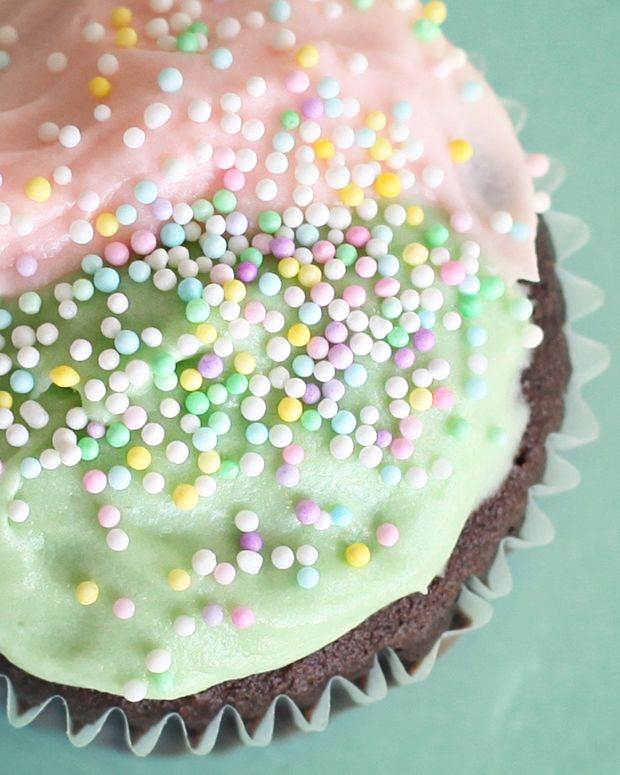
Oh, and speak of the devil. Here we have a perfectly centered, symmetrically composed cupcake photo.
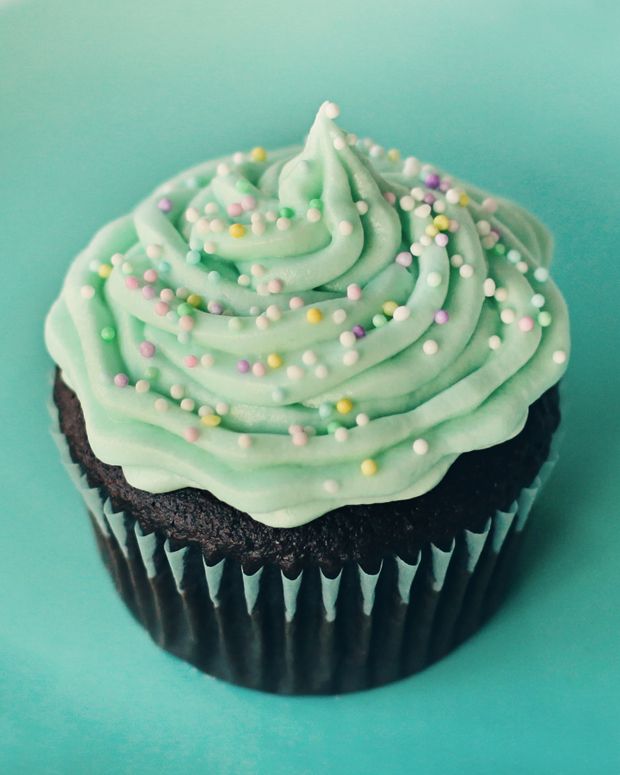

This photo makes me sad. I made 24 cupcakes, but at the time that seemed a little gluttonous for just the three of us, so we gave them away to anyone who happened to stop by the house. But now they're all gone. What were we thinking?

Q. I was wondering how you post process your photos.

A. I use Photoshop CS5. I previously used Photoshop Elements, and that was a great program as well. Scott Kelby has a book for every single version of Photoshop and every version of Elements. I highly recommend that you get the book for your version.

Q. What f-stop do you use the most?

A. Hmmm. I'm willy-nilly, here, there and everywhere with my f-stop. I would say I'm in the 2.5-3.5 range the most, but that varies so much with what I'm photographing. The following cupcake photo was shot at 2.5.
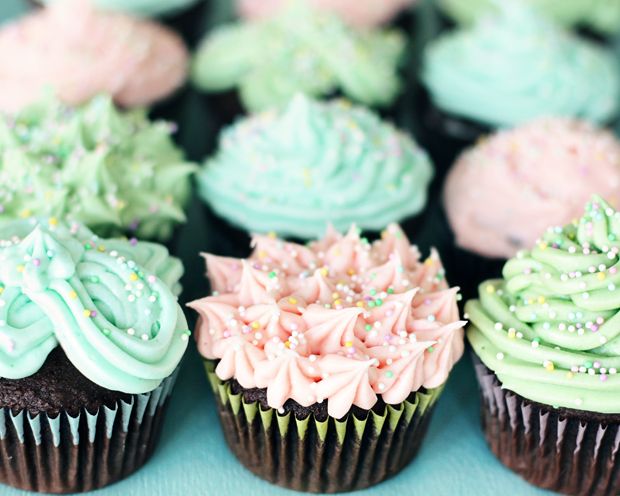

In photographing people, I would say that 3.2 is the widest I would ideally want my aperture to be, but I do open up more if I'm losing my light.

Q. Do you shoot in RAW?

A. I do not shoot RAW. We'll just pretend I have some issue in my childhood that is preventing me from shooting in RAW, because there truly is no other valid reason that I'm not shooting in RAW. I don't want to talk about it anymore.

Q. How do I take a half decent picture in my house....after it's dark?

A. I don't take pictures after dark! :) If we have a family gathering and want some photos, my hubby or kids grab their point and shoots and use the flash.

Q. What suggestions do you have for accentuating motion in photography?

A. I don't think I've ever tried to accentuate motion. I've frozen motion (trampoline shots, etc.), but never accentuated it.

Q. I have read online that you MUST MUST MUST shoot with natural light and absolutely never use a flash. But how do I get good pics of my sweet daughter or an interior project or whatever if it's cloudy out? Or what if it's just dark in my house?

A. I choose to use only natural light. But. I don't have sweet little children whose adorableness I need to capture on a moment by moment basis, so I can choose the time of day and the specific (best natural light) location in my house for what I want to photograph.

When I took these photos of Kayla, it was a gross, dark, snowy, gloomy Sunday.
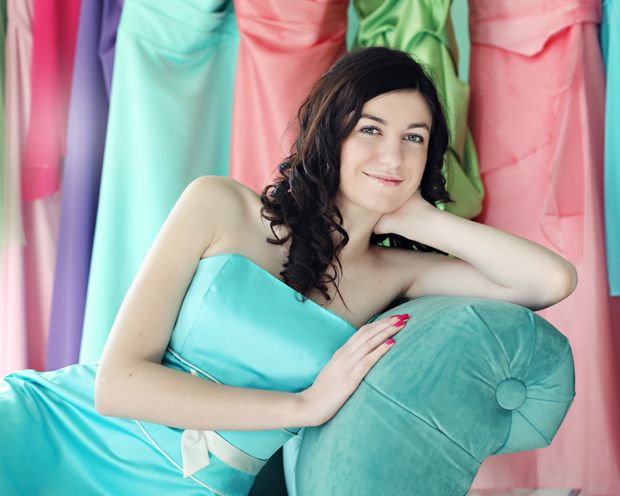

But, we shot at noon and while she wasn't actually facing the light - it was coming from the side - my front room has a window that faces south, so we had enough light to make the gloomy day work for us.

Hey, she matches the cupcakes perfectly! Now I want to re-do the shot and have her eating a cupcake.

Kayla - come back!

Q. Do you always set a custom WB?

A. No. I almost always have my white balance on auto. (Cringe).

Q. Do you change your ISO settings often, or do you rely on Aperture Priority or Shutter Priority?

A. I always, always shoot in manual. I definitely change my ISO as much as I need to in order to keep my aperture and shutter speed where I want them to be.

Q. I'd love to know how to nail pictures shooting wide open (especially children). I love the look, but it always seems that I don't get everything that I want tack sharp while letting everything else fall out of focus. Also, how do you choose your aperture when dealing with multiple subjects?

A. I would suggest bumping up your f-stop a bit. I've had that same situation. I used to shoot people wide open, but not anymore. I want their whole face....eyes, nose, etc. in focus, so these days, I would say 3.2 is as low as I'd ideally like to go. (I break that self-imposed rule all the time though!!) You'll still get beautiful background blur at 3.2.
Choosing aperture for multiple subjects? I. don't. know. I try desperately not to shoot multiple subjects! I did, however, just shoot six handsome high school fellas in a group. They were on stairs, at different levels and distances, so I shot at 7.0. I knew I'd have my hands full with their .... ummm, shall we say vibrant personalities? ... and I didn't want to have to worry about my depth of field. I just crossed my fingers hoping 7.0 would be enough, and thankfully it was.

Q. I have a 28-135mm lens. I'd like one that will do macro photography - real close up. Any recommendations?

A. I have yet to take the macro plunge. One day! Macro opens up a whole different world, doesn't it?

Q. Would you say most photos are pretty good straight outta the gate, or is it best to edit them? Maybe a simple question, but I'd love to know what percentage of pictures you edit (beyond cropping) as opposed to just letting them be what they are.

And....

Q. Can you let us know if your pics are SOOC (straight out of camera) or do you do any post-editing on them (even minor color saturation tweaks.)

A. I always, always do at least a little tweaking, and sometimes I do a lot of tweaking. At the very minimum, I bump up the contrast a little. I like to use an action called Daily Multi-Vitamin on my people shots, and I use The Pioneer Woman's Boost action on my stills and landscapes. (But never at 100%). With the exception of Daily Multi-Vitamin, I don't think I ever use any action without fiddling around with the different layers at least a little bit.

Action sets I love:

Itty Bitty Actions - from the ultra-awesome JinkyArt
Totally Rad Actions
Pioneer Woman's Actions - these are free - whoo-hoo!
Flora-Bella Collection - so, so fun. Love these. LOVE.
Kubota Image Tools

Q. Have you noticed that there is snow on the ground at your house this morning?

A. Why yes, yes I did notice that lovely little gift from mother nature.

Q. Did you, within the last 24 hours, spend a rather large amount of time looking for real estate in both Florida and Arizona?

A. Yes again! Wow, I don't know who you are, but it's like you're living my life right along with me! Spooky.

Okay, so there you have it. Hope this helps, and if I missed anything just give me a shout out in the comments. Remember, it's a journey. I'm in a totally different place than I was this time last year, and I certainly hope to be in a totally different place this time next year.

Have a great day, and if you happen to live in a place where it's warm and sunny today, please pick up a local real estate guide for me and pop it in the mail, okay?

February 22, 2011

working together

Did you all have a wonderful President's Day? I wish I could show you photos of the delicious cherry pie I baked in honor of George Washington, but the closest I got to cooking all weekend long was the pizza box I opened on Saturday night. It's difficult to take pictures of something that doesn't exist.

I have not been feeling the cooking love lately...at all, but I have a house full of company coming later this week, so my kitchen and I will be getting reacquainted very soon.

But enough about me, let's talk about you. Have you had your camera out?

Have you been shooting in manual mode?

Yes? Good.

Many, many different factors come into play when taking pictures in manual mode, and today we're going to talk about two of the biggies. At least they're biggies in my book.

Aperture and shutter speed.

Instead of fumbling my way through an explanation of the two, I am going to pass the buck in a very big way. The Pioneer Woman does an amazing job explaining both aperture and shutter speed in the photography section of her world famous blog, and I could not possibly say it any better than she already has. She's titled the four part series, "What the Heck is an Aperture", and it is well worth your time to pop on over and read all four parts.

Go ahead, I'll wait right here.

Waiting.

Okay, you're back? Good.

Did you also read "What the Heck is an Aperture, Part Two?" Because you really should. And Part Three? How about Part Four?

Just making sure.

Do you totally understand aperture and shutter speed now? Yes? Awesome!

If not, you're in very good company. Bookmark those posts and read them again. Then play with your camera and come back and read them again.

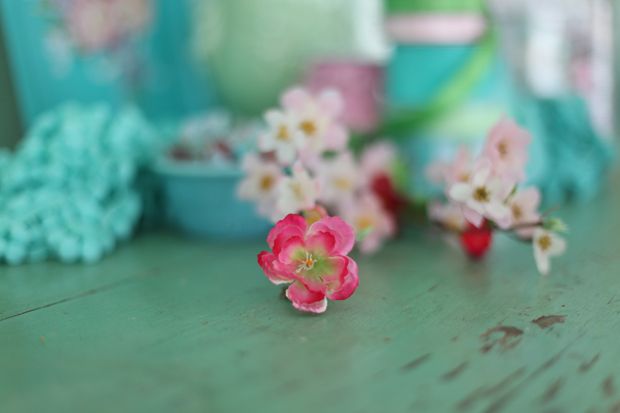
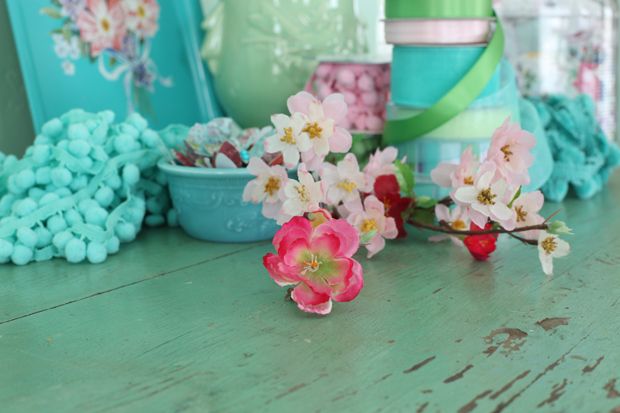
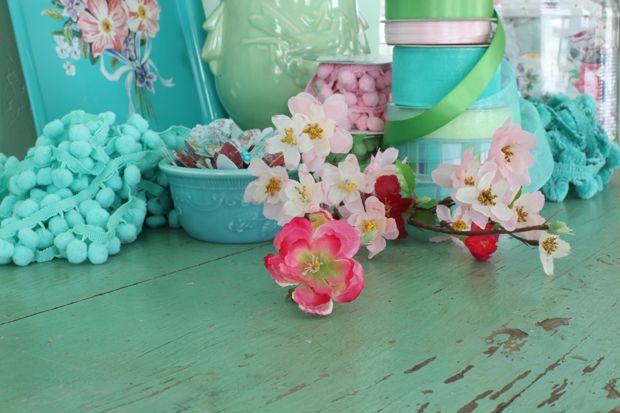
I took these pictures with my 50mm f1.4 lens, and hopefully they will demonstrate how aperture and shutter speed work together.

I started with my aperture wide open....f1.4. That gives us a very shallow depth of field - you can see that only the flower and a narrow stripe on the table are in focus, and it's hard to tell just what the rest of the objects in the photo even are. That wide aperture also lets in a lot of light, so we need to have a very fast shutter speed or we'll end up with an overexposed photo.

(aperture 1.4 ~ shutter speed 1/640)


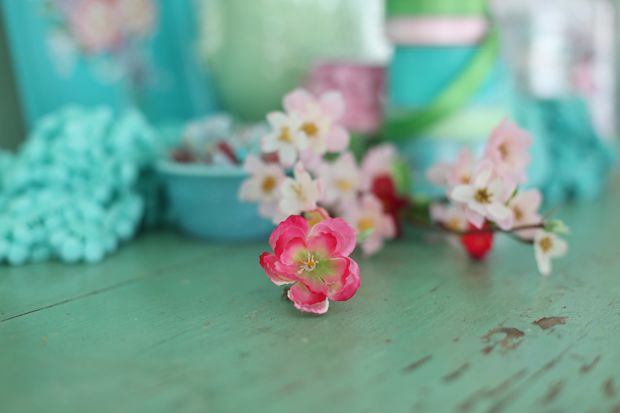
Now I'm going to start closing down my aperture, (remember that the bigger the number gets, the smaller the opening - 2.2 is a smaller opening than 1.4. I know, it seems backward), which will let in less light than before, so to make up for the smaller aperture opening, I'm going to slow down my shutter speed, which will let in more light.

At an aperture of 2.2, everything but the flower is still pretty blurry.

(aperture 2.2 ~ shutter speed 1/250)


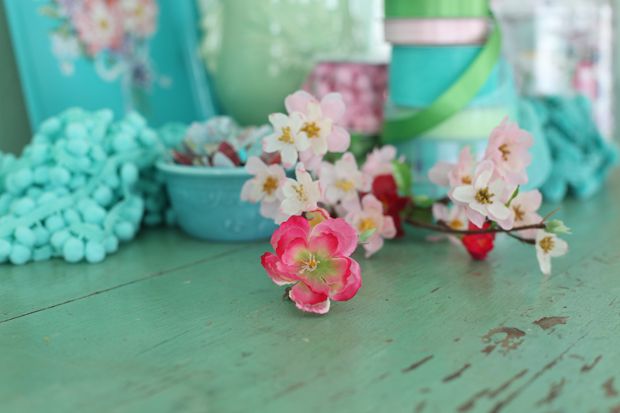
At 4.5 things are starting to come into focus.

(aperture 4.5 ~ shutter speed 1/60)


The aperture keeps getting smaller, and at this point my shutter speed is getting very slow in order to let in enough light. I used my tripod for all of these shots, but if I was hand holding my camera, things would be getting pretty blurry by now.

(aperture 9.0 ~ shutter speed 1/15)


Now my aperture is as small as it can go.

(aperture 22.0 ~ shutter speed 0.4)


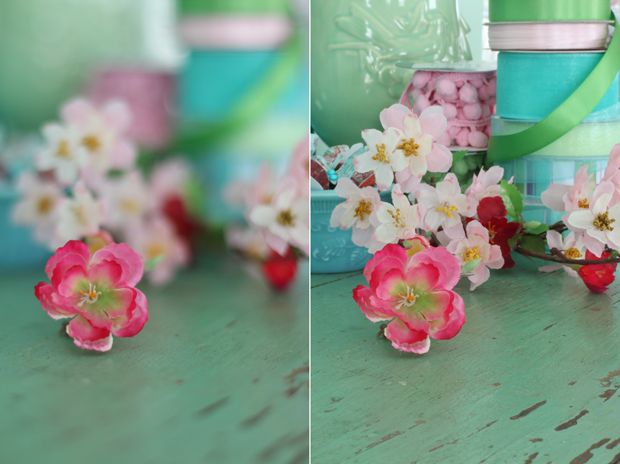
Side by side, the range is pretty impressive.

(f1.4).................................................... (f22.0)


Now, if that doesn't leave you with more questions than answers, I don't know what will!

I encourage you to do this exercise yourself. I am a hands on learner. I can read something over and over, but it doesn't usually click until I put it into practice for myself. This will help you see how aperture and shutter speed work together. Start with the widest aperture your lens is capable of (different lenses have different aperture ranges), and take it from there. Keep in mind that your shutter speeds will vary from mine depending on your lighting conditions.

I'll leave you with a couple quick tips.

Experiment to find the slowest shutter speed you are comfortable using while hand holding your camera.....and don't go below it. Many, many times in my early days I would get caught up in shooting and forget to keep an eye on my shutter speed. You may not see the blur on your camera screen, but you will see it when you load your photos on your computer. It doesn't matter if you've got the best composition or you've captured the most precious moment, if your picture is blurry, you will be sad.

Moving subjects need a faster shutter speed than stationary subjects. ( I know that seems like a given....but it wasn't for me.)

Many of you have asked how to achieve a dreamy, blurry look to your photos. As these pictures show, it's the wider apertures that give you the pretty background (and foreground) blur. (Also known as bokeh.) Experiment with your f-stops (aperture) to see just how much blur you like for your own shots.

Remember.....practice and read.

Get out your fake spring flowers and make them model for you.

Google and read and practice.

Borrow your neighbor's children and make them model for you.

Read, practice, read, practice.

Rinse and repeat - and have yourself a little bit of fun while you're at it!

February 10, 2011

manual is a must


When I got my Rebel several years ago, I immediately had buyer's remorse. I was not even remotely impressed with my photos. The point and shoots that my husband and boys were using were producing much better photos than my Rebel. I had obviously been under the impression that my new fancy pants camera would automatically start spitting out beautiful pictures, but it very quickly became clear that an expensive camera does not a good photographer make.

That's your first profound photography revelation for today.

Not one to give up without a fight, I hit the internet, and I hit it hard. I followed every single photography rabbit trail I came across. I read everything that crossed my path. I stalked the blogs of photographers whose work I admired and I quickly became convinced that I needed to learn to shoot in manual mode if I had any hope of producing the kinds of images I dreamed of creating.

So, I put my camera in manual and immediately went from being unimpressed with my photos to being extremely unimpressed with my photos. I would flip some dials willy nilly, take another shot, change some settings, take another shot, and on and on and on. Occasionally, I would come up with a keeper, but I had no clue how I got it. More importantly, I had no clue how to get it again.

So, here's profound photography revelation number two.

Ready?

Shooting in manual mode is technically complex and the willy nilly method just doesn't cut it.

Unfortunately, at that time my head was a certified technical free zone. It's true. Just ask any of my junior high or high school math teachers. Or my dad, who thought I should know how a carburetor worked before I was allowed to drive a car.

That side of my brain has been on vacation in the Bahamas pretty much all of my life.


But my free for all button pushing, dial turning days were numbered. That approach just wasn't working for me. There very well may be those who can pick up a camera and make magic happen without a thought, but I wasn't one of them.

There are several different technical aspects to shooting in manual mode, and if I hadn't pushed myself to figure out how it all worked together, my Rebel would be on a shelf right now, gathering dust.

It was not an easy journey for my noggin.

It made my head hurt.

However.

I survived.

I learned. And learned some more. And slowly it started to make sense.

Very slowly.


Next time, I'll get into just what those technical aspects are and how I wrapped my brain around them.

Till then, here are a few suggestions to get you headed down the road to fabulous photos.

*Read every single thing you can get your hands on. Read your camera manual. I know. Snoresville, right? Read it, then go out and practice and then read it again. Every time, a little bit more will make sense.

*Get a good photography book or ten. I have Scott Kelby's Digital Photography series. He has a very user friendly style - good information without a lot of technical detail.

*Take a million pictures. Or more. Get familiar with your camera. Very familiar. When you first start out, you have eleventy seven things to think about before you click that shutter. The more you know what button does what, what dial does what, the more you'll be free to focus on other more creative aspects of photography.

*Lastly, if you are frustrated, don't give up. I'm here to tell you that you can do it. You can learn this. If I can, you can. Promise. You've found your people here. Or at least your peep. I'm living proof that those who are struggling to take better photos really can make sense of it all. Well, maybe not all, but at least a good chunk of it.

So, go forth and take pictures in manual mode, shout from the mountain tops that manual mode is from the devil, come back next week thoroughly frustrated, and we'll take it from there!


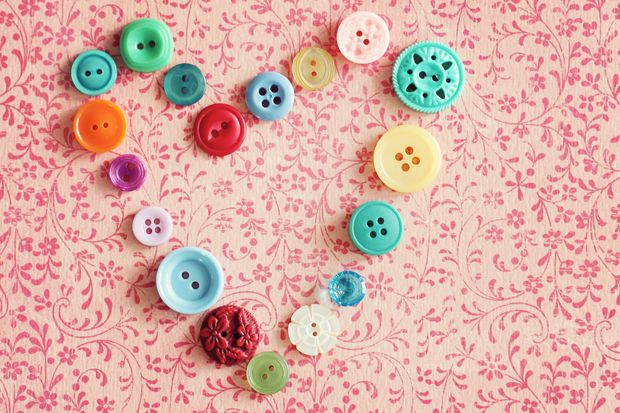
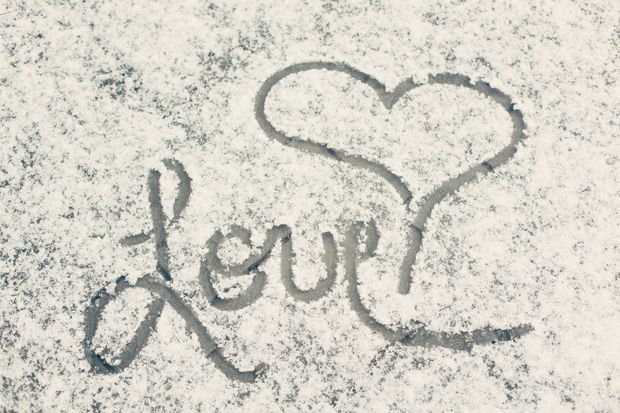
p.s. I was needing some Valentine photo ideas, so I took a skip through Flickr. It's a great place to find inspiration....all of these photos were heavily inspired, if not flat out copied, from photos I found there. I wish I had thought of making a heart out of my buttons, or making book pages into a heart shape, but I didn't. It seems the right side of my brain occasionally visits the Bahamas as well. And when that happens, tell me just what is left up there in my head?

Don't answer that.

February 1, 2011

first things first


Oh boy, now I'm nervous.

It's one thing to think about sharing photo information and tips, but it's a whole nother ball game to actually put it out there on the internet for all to see. While it's true that I've learned a lot about photography over the last couple years, I am still very much flying by the seat of my pants on a regular basis.

That said, I am happy to share what I do know. For now, I think I'll try to do a photography q & a post a week and if nothing else, this little series will no doubt serve as a high form of entertainment for any real photographer who happens to find their way here.

So, since you have to have a camera before you take a picture, it would seem that photography equipment is the logical place to start.

Up until a year ago, I was shooting with a Canon Rebel XTi. It came with an 18-55mm lens which I used for a while, but before long, I knew I wanted something better. After much research, I decided on the Canon 50mm f/1.4. I love this lens and still use it most of the time. I eventually also added the Canon 18-200mm f/3.5-5.6 IS. This lens is always on my Rebel, and most of the landscape shots you see on my blog are taken with this setup.

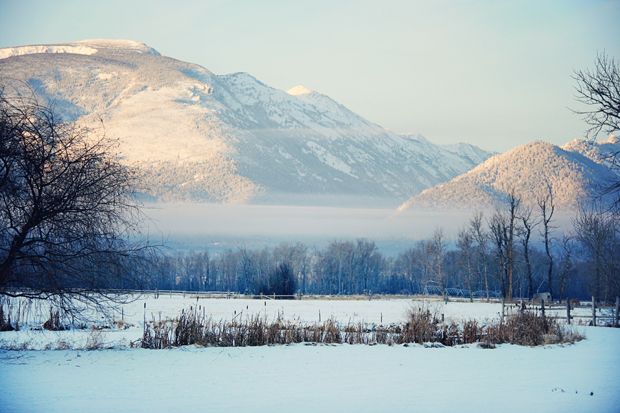
Like this one....


Last January, my hubby was kind enough to buy me the Canon 5D Mark II. It is an amazing camera. I am head over heels in love with what this baby is capable of. I also recently bought the Canon 24-70mm f/2.8L lens. I'm still getting used to this lens, so I'll keep you posted on my thoughts there.

The latest Canon Rebel is the T2i. If you are looking to upgrade from a point and shoot, that's where I'd start. My Rebel has served me very, very well. I learned so much with that camera. I understand Nikon has something in the same range as well. There are many, many comparisons online and I would check out as many as you can before you take the plunge.

So, is that all clear as mud?

Good.

Shall we re-cap? Yes?

Okay.

Canon Rebel XTi - my secondary camera
Canon 18-55 lens - came with my Rebel and I never, ever use it
Canon 18-200 - always on my Rebel and used for landscape shots

Canon 5D Mark II - my best friend
Canon 50mm f/1.4 - use this most of the time
Canon 24-70 f/2.8L - need to get more comfortable with this lens

I have a tripod and I hate using it. However, on a rare occasion, I will haul it out to get still - not people - shots in the house on a gloomy day.

A couple last thoughts.

First, read as much information and as many reviews as you can possibly absorb before you make any camera or lens purchase. Here is one of the review sites I used each time I made a new purchase. There are many more out there.

Second. When purchasing lenses, buy the highest quality your budget allows. I'm sure that's stating the obvious, but lens quality makes a huge difference in your photos.

Huge.


Well, how was that for information overload?

Let me rephrase that. How was that for very dry and somewhat boring information overload?

Yeesh.

Next week, we'll chat about the picture taking process.

Prepare yourselves to be totally underwhelmed.